Hello, I hope you are staying safe during this tough time. For all you DIYers who are stuck at home and itching to do something great to update your kitchen or bathrooms, I wanted to share this offer with you. Giani sent me a coupon for 15% off across their site. I make no monies off this, I just wanted to share it with you because I love their products and if you can save 15%, now is the time to do it! To receive the offer during March 28 and 29, you can place anything in your cart and apply the code below when you check out.
Go to Giani Enter the code EMPOWER
Do you have ugly kitchen counters, but not the budget to replace. Well I have the perfect solution. Giani Countertop Kit. Believe me, I did a lot of research and compared other brands, this one was a winner! Easy to do and cost saving.
Giani Countertop Kit can be used on:
- Formica counter tops and vanities
- Laminate counter tops and vanities
- Corian counter tops
- Butcher block counter tops
- Tile with grout lines
- Cultured marble vanities
- One piece sink and counter vanities
- Primed or painted wood
- Primed or painted drywall
- Cabinet inlays
- Table tops
- Mantels
- Granite
So, if you have any of the above counters and want them to look beautiful….do this update. You will be so incredibly happy with the finished look. This isn’t a regular paint, it is minerals. Very thin consistency, almost like water. For those of you who are thinking that you’re not very creative, you really don’t have to be. What is so great is if you make a mistake, you can roll on the primer again and start over. Now I did a different technique, I blended the colors together and added acrylic metallic paint and glitter. For those who are afraid to try my technique, you don’t have to do the same. Just follow the instructions inside the box.
For those of you that want to get your creative juices flowing…have fun with it. I added the extra fine glitter on the bathroom counter top, that I posted yesterday.
So, don’t be afraid to try this!! You can do it! It is only around $80 for the kit and it did my whole kitchen. The kit has everything you will need inside the box.
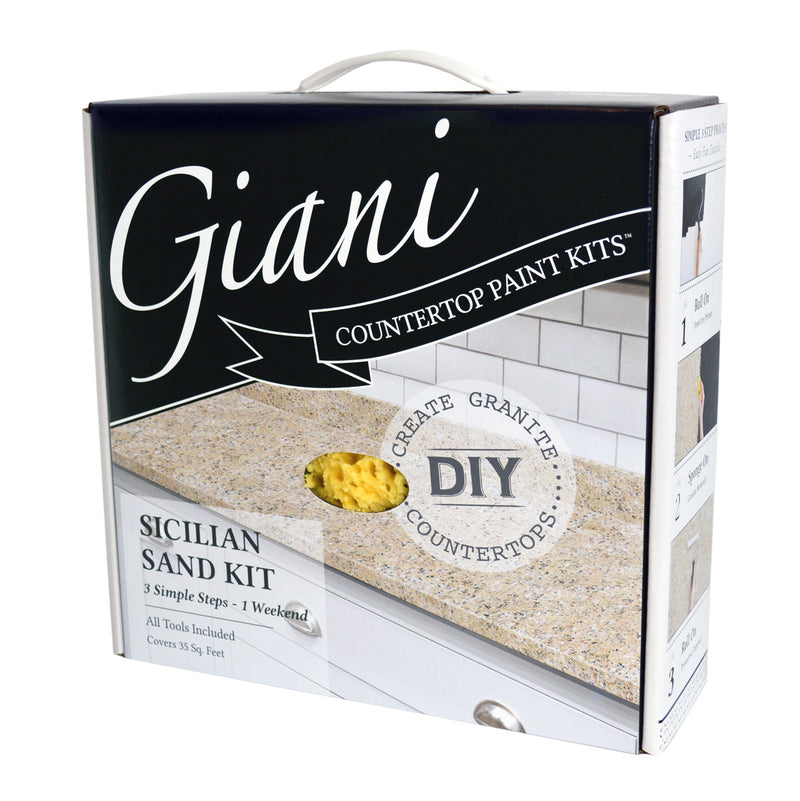
I finished with the bathroom Makeover…now it’s kitchen time!!!! This is what I decided to go with….Giani Sicilian Sand Kit…Although I must say, I didn’t follow the pattern, I just wanted the colors. You will see later how I blended the colors instead of sponging.
I want to let you know that I do not have any relationship with
Giani, nor did I received, it for exchange for review. I tried this brand after I did a lot of research on the product and started with the bathroom counters. I liked them so well…I ordered it Amazon.com in a different color. It’s the same price all over the internet. Shipping free.
I had brown/golden cabinets. I sanded them all down, painted, then added the trim on the cabinet doors and drawers…I love how they turned out.
This will be a continued tutorial…posting steps as I go…(so I don’t forget anything).
To start, I used a SOS scouring pad to remove all the grease. I rinsed well….then sanded.
Now if you have laminate counter tops…fill in any seams with wood filler. There is no need to sand the laminate counter tops. The different looks are fabulous and they even come in a blue and a red now, so check out the many different colors. They just came out with a Carrara Marble kit that is fabulous and gorgeous all mixed in!
If you remember…..This is the present state of my kitchen:
I used this neat little Roybi corner sander. Okay, so it’s not the biggest sander but…it sanded all 36 of my cabinets in the kitchen down to bare wood, and has worked so well with my other projects. It’s like that energizer bunny that keeps on going. It is inexpensive, under $25 If you don’t already have a sander, then this is great for so many projects. If you have a sander….great!
So I started sanding the tiles. These are ceramic tiles with a high sheen. You won’t be able to remove the sheen. What you are hoping to accomplish is just scratching the surface up a bit for the primer to grab on
to. Be sure to rinse off all the dust. Wash down again, and let dry. Be sure if you have a counter top like mine, with grout, that you let the grout dry completely. Be sure to patch deep nicks with wood patch. Sand the patch smooth. Giani will cover thin scratches. Remove any loose latex or silicone caulk, replace with
pain-table caulk.
These are the drying times:
Roll on one thin coat of Primer, then wait……….8 hours
Lightly sponge on all Minerals, then wait………..4 hours
Roll on first Clear Topcoat, then wait………………4 hours
Roll on your final Topcoat, then wait….
1 hour and carefully remove the frog/painters tape. Score the tape’s edge while pulling it up. Wait 12 hours and apply clear acrylic caulk around sink’s rim to seal out water. Wait 24 hours before using your counter tops and dishwasher…wait 3 days before setting small appliances back on your counter tops.
Giani Granite cures in 14 days.
I have a feeling this is going to be a long tutorial….I just don’t want to leave any important steps out.
So while I am waiting for the counter tops to dry, I will start taping off the cabinets below with plastic. I will also apply 2 rows of tape around backsplash where it meets the counters.
Okay….so here it goes. Now I tore out my backsplash so I didn’t run tape along the back wall.
This is the primer…a little can goes a long way. You only coat once. Giani’s kit comes with everything included except a brush. I need to use one behind the sink where the space is too limited for a roller.( Be sure to wash your brush right away when finished with primer). I covered my new faucet with a plastic bag just to be sure I don’t accidentally get paint on it.
It even comes with two rollers…one for primer…the other for top coat.You roll your roller in one stroke down the side. Now it was a lot harder doing tile in 4″tiles because of the valleys in the tile and grout. Be sure to get it all covered. I went one way, then went back the opposite way to be sure I got into all the grout.It dries to a tacky finish quickly, so…be careful going back to a area…as it could lift the primer. So go slow…take your time in each area.Do you see the areas to the right and left of roller….I did touch them up…but be sure you do the same.
I covered my sink with a towel…just in case!
So now I wait 8 hours….then the fun begins!!! Sponging the minerals on. The minerals are not paint. It is a thinner consistency.
So I started the painting….It’s sponge painting…You can’t make a mistake. If you do, you can just add the black back over it.
So I started pouncing with the first color…
Oh it looks awful! But don’t give up and don’t despair. It will look better with each color you add. Looks like my doggies climbed up there and walked around in the paint…hahaaa
Then you add the second and third colors…it starts to look better when you start applying the third color.
So I keep going back and adding color….You can barely see the lines from the tiles.I ended up blending the colors instead of dabbing the sponge. So my counter top came out a lot different then the instructions.
when 4 hours are up…I will add the first coat of the topcoat. I am thinking of putting some glitter on. If you do this….lightly sprinkle with your fingers.
Be sure to roll your roller evenly onto the counter top. I went from back wall…to front…all the way to the counters bull nose edge and down to end of tile..
I had put tape on stove edge to protect it. I took the foam brush that was included and added the top coat to all the edges around the stove and sink.
I did sprinkle some ultra fine silver glitter onto top very lightly.
Some of the mineral paint did get on the stove, but was easily removed by Alcohol on a cotton ball
When applying the topcoat, don’t brush on heavily. Remember to start from back of counter top (by the backsplash), and make one thin sweep to the front and down the front edge. When the first coat is dry…4 hrs…lightly sand over the glitter if it’s sticking out above the topcoat. Be sure to wipe any dust away before adding second topcoat. Apply the same way you did the first coat. Second coat is on….. and I can’t wait to put my kitchen back in order….My bathroom
Giani White Diamond counter top, has such a hard shell on it now…It has held up now for 2 years perfectly!
Materials I used for this project:
- Giani Counter Top Kit
- Ultra Fine Glitter
Thank you so much for looking!
Here are the different styles:
GIANI BOMBAY BLACK COUNTERTOP PAINT KIT
GIANI CHOCOLATE BROWN COUNTERTOP PAINT KIT
GIANI SICILIAN SAND COUNTERTOP PAINT KIT
Giani Countertop White Diamond

Giani Marble Counter top Paint
If you have formica counters you hate and want to get rid of….why spend thousands when you can do the whole kitchen counters for $79. Also, it lasts and lasts!
I had so much fun trying this. Yes, I made mistakes and had to start over again, but it worked out great. I was so apprehensive trying this, but truly it pretty easy. The hard part was masking off the appliances, cabinets, and walls. So have some painters tape handy!
Published by kelleysdiy
I love creating new ideas. And now that I am happily retired, I have lots more time to create them! Whether its crafts for decorating my home, or up cycling items I find at garage sales, thrift stores, and even on the curb, and turning them into something wonderful.
The creative juices flowing in my head are almost always in overdrive....so many ideas! I love sharing my new ideas with all of you! So please follow me and let me know how I'm doing! I hope I can inspire you.....and if I do....send me a pic. I would love to see your creation.
View all posts by kelleysdiy


I hope you are well and staying safe, darling!
LikeLike
I am being as safe as I can be. How are you, and hubby? and kitties!🤗❤️️🐱
LikeLike
Oh! That’s a great countertop paint kit.
BTW, your kitchen looks great and has a creative design.
LikeLike
Thank you so much! The people I sold the house to loved the kitchen! I loved it too. I did all the cabinets in there also. They were an ugly brown. I painted and put some molding around the plain doors and drawers to make them look upscale. I also did the backsplash. I had so much fun!
LikeLike