

Mercury glass, also known as silvered glass, contains neither mercury nor silver. It’s actually clear glass, mold-blown into double-walled shapes and coated on the inside with a silvering formula, which is inserted through a small hole that is then sealed with a plug.
If you would like to create your own mercury glass pieces, then this post is for you! First you need a glass item. If you have a dollar store near you, you can pick up so many glass items on the dollar.
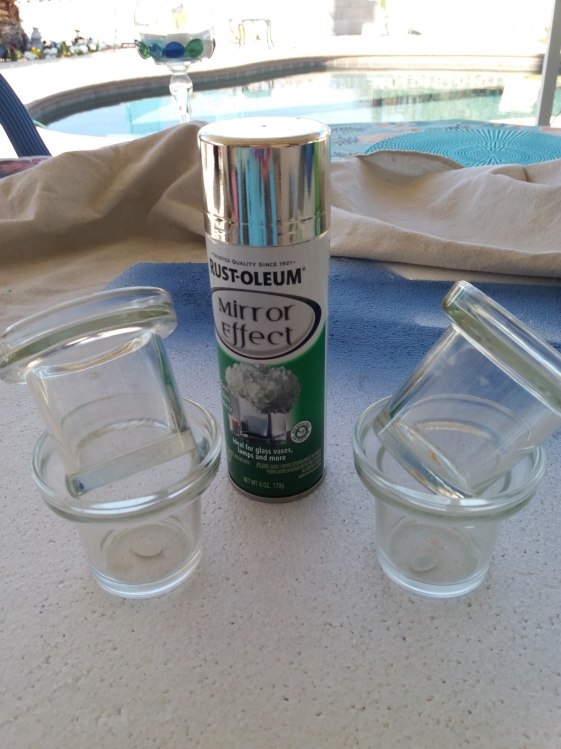
Items you will need:
- Rustoleum Mirror Effect
- Rubbing Alcohol
- Paper Towel
- Spray Bottle with Water (must have mist spray)
- Glass piece
$8 sounds expensive but I have been using the same can on at least a dozen pieces
Lay down some newspaper or something to protect your work surface. Be sure that your glass piece is clean! Tip: The alcohol is used to remove the painted surface if you aren’t happy with it. So don’t worry if it doesn’t come out just the way you like, it can be wiped away, and you can start over.
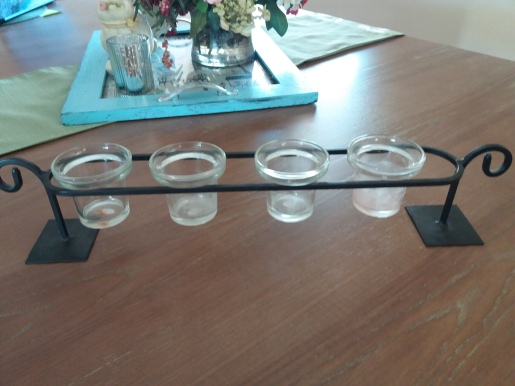
This is the piece I am making over:
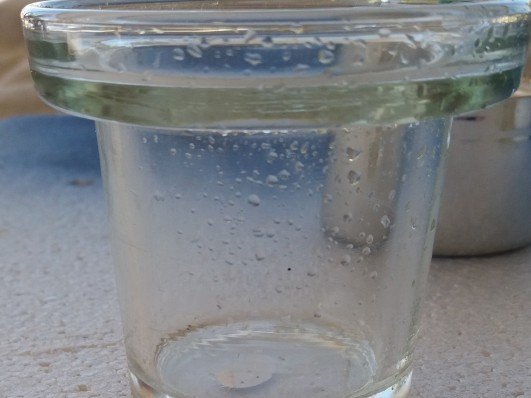
To start, using your spray bottle, set on ‘mist‘, I then lightly mist the inside of votive Tip: You want beads of water to form on the glass surface (You will see small droplets of the water, do not remove these droplets!
Now, you quickly follow with a light coat of looking glass spray paint . You do a quick spray. Why?? The water droplets won’t allow the paint to adhere to the glass creating the mottled, mercury glass finish. Don’t worry if some of the spray paint and water run down the sides and pool in the bottom, that’s normal. Wait five minutes for the paint to dry on the votive s’ sides, then carefully dab away excess water and spray paint from the bottom with a paper towel, being careful not to hit the votive s’ sides . Remember, quick, short fine mist spraying on both the paint and the water.
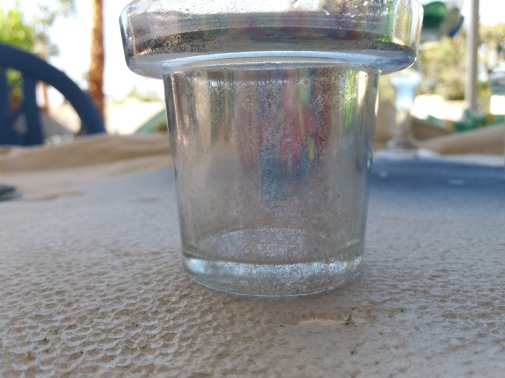
I continued coating the interior of votives with first a light mist of water followed by a light coat of paint for a total of three to five coats or until you’re satisfied with the votives’ silvered appearance .
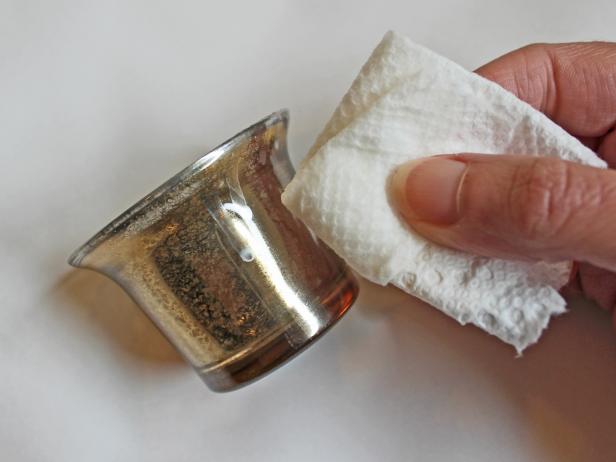
Once the last coat of paint has fully dried, use a paper towel saturated with rubbing alcohol to clean up any overspray on the outside of votives.
The votive s look pretty with those led dancing candles look like this. I love these new kinds of dancing wicks. They look real and the wicks move. Instead of the ones like these that I have used in the past.
This is how they looked at night:

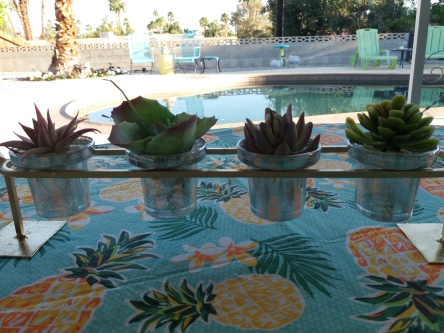
I had just hung a orb that has 6 votives above the patio table, thinking perhaps I should try something else. I purchased 4 artificial succulents from a dollar store and stuck one in each votive.
If you are a beginner and feel uneasy about this, you can do another way. This is good for practice. And remember, you can always remove paint with alcohol and a paper towel. So what is the idea? Instead of spraying the inside, spray the outside. Use the same technique with the water and paint. It will look almost the same, but so much easier, and a good way to practice. I created several pieces spraying the outside of the piece:
Rustoleum also makes the Mirror Effect in Gold:
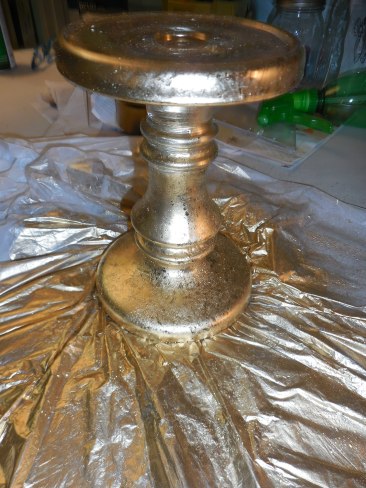
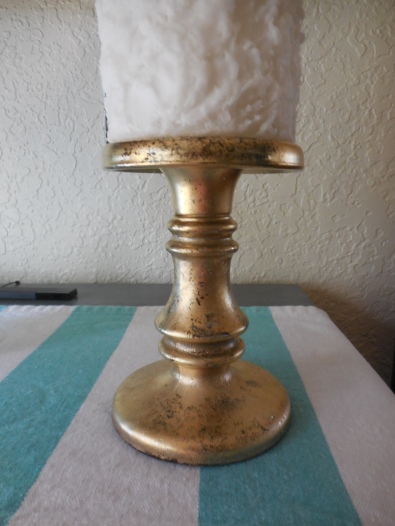
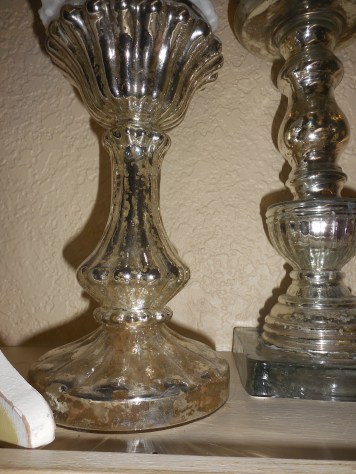
I did these candle holders in the silver:
and also this vase…
I hope you enjoyed this post, and you were inspired to try this yourself. It is easy, and so hard to mess up!

Wozer! Moving to the Mercury glass tutorial. LOVE this look!
LikeLiked by 2 people
Hi Kim! I am so happy you are going to make some mercury glass pieces. I love the shine and how it reflects. It’s such a easy way to make those dollar store vases gorgeous! Remember Kim, quick mists of water and the paint. I hope you had a wonderful weekend. https://i.pinimg.com/originals/f0/5a/34/f05a34b0a60f0169077186c055a86bbe.gif
LikeLiked by 1 person
got it!
LikeLiked by 2 people
🤗🤩☺️
LikeLiked by 1 person
cute gif!
LikeLiked by 2 people
Yes! and 1 can makes over a dozen pieces!
LikeLiked by 1 person
Which kind did you like the best? Spray paint. I like the shine a bit better than the matte… what would you suggest I purchase? ~kim
LikeLiked by 2 people
It comes only one way in gold or silver. It is shiny. It has a bit more shine when you spray the inside, but you get the same effect.
LikeLiked by 1 person
Well you learn something new every day. Very interesting.
LikeLiked by 2 people
….and so easy lisa… https://i.pinimg.com/originals/f0/5a/34/f05a34b0a60f0169077186c055a86bbe.gif
LikeLiked by 1 person
Gorgeous
LikeLiked by 1 person
Thank you Laura!!
LikeLike
Perfect water plants for summer
LikeLiked by 1 person
What a cool effect! Love them as succulent planters, so cute!
LikeLiked by 1 person
Thank you! You can pick up the glass containers at the dollar store….or garage sale!
LikeLiked by 1 person