

Hello everyone,Do you need beautiful inexpensive light out on your patio? Do you want to lighten a dark corner in your home? Well, if that interests you, then take a look at what I created on what I already had on hand. I purchased this stuff over the years, but I purchased most at Walmart.
This is what you will need for this project:
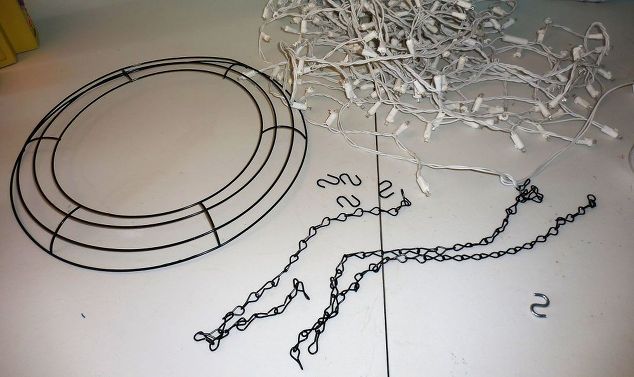
- Wire wreath
- Small Chain- Home Improvement store cut into 4 equal lengths
- 3 small hooks, 1 medium hook- Home Improvement Store
- Christmas icicle lights–
- Greenery garland- Walmart
- Greenery picks- Walmart
- Crystal bead garland- Walmart
- Green and Red bead garland- Walmart
- Ornaments
- Extension Cord
- Rustoleum American Accents White Flat
- Rustoleum 2x Clear Sealer
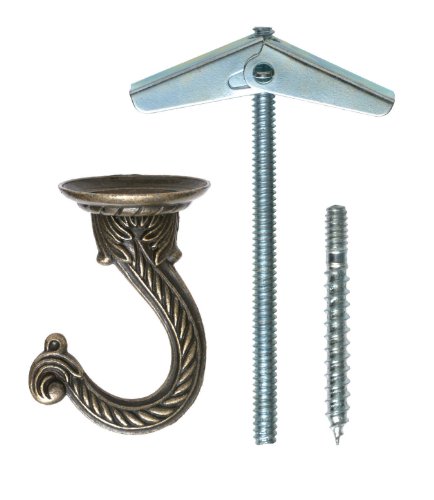
- Butterfly hook
- Thin wire
Many of you remember (I hope) my Up cycled Chandelier from almost 2 years ago. This starts out the same, but I decorated this one for the holidays!
You start out by getting figuring out how low you want to hang the chandelier. If you don’t have wire cutters, ask the guy at the home improvement store, where you purchase the chain, to cut the chain into 4 pieces of the length you decided. (you only need three equal chains to go from wreath to top. The 4th is to hang at top. if this sounds confusing, the pics and tutorial will explain more in depth). Remember, the lights will hang down about 10″, and there is a small chain at the very top, so that will have to be figured out in your overall length.
Now you will spray paint all the metal pieces! I love Rustoleum products. They do so well outdoors!
")

While your waiting for the paint to dry, time to hang your butterfly hook in the ceiling where you want your chandelier to hang. This is what a butterfly hook looks like:
If you didn’t purchase in white, then paint it along with the wreath, hooks and chain. Let the paint dry completely!
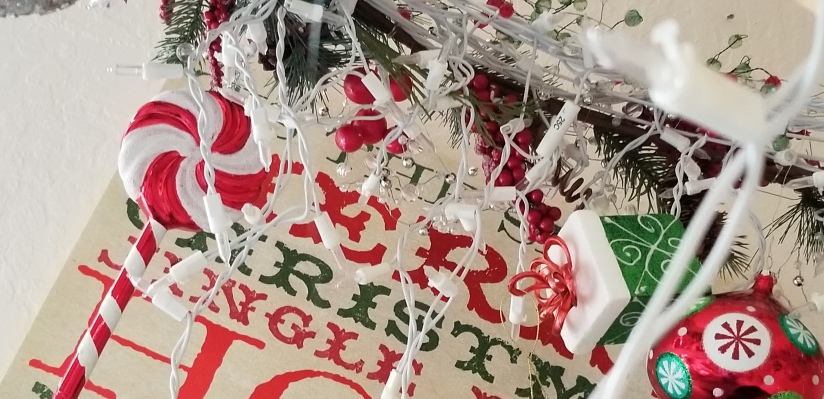
Now start wrapping the icicle lights around the wreath starting on the outside. Drop each hanging icicle through the first and second wire. You keep wrapping around the lights around the wreath, going towards the center. You may have extra, that’s alright, for now you just let it hang down the center
Don’t get confused! I didn’t take a pic of this step so I am borrowing a pic from my other post. See how the icicles drop down. The neat part of this is that you don’t need to secure in place. Dropping the icicles down through the space, holds it in place.
Next you add the green garland. You will have to use some thin crafting wire to hold down the ends. (My garland wasn’t long enough, so I had to add picks to the empty spot!)
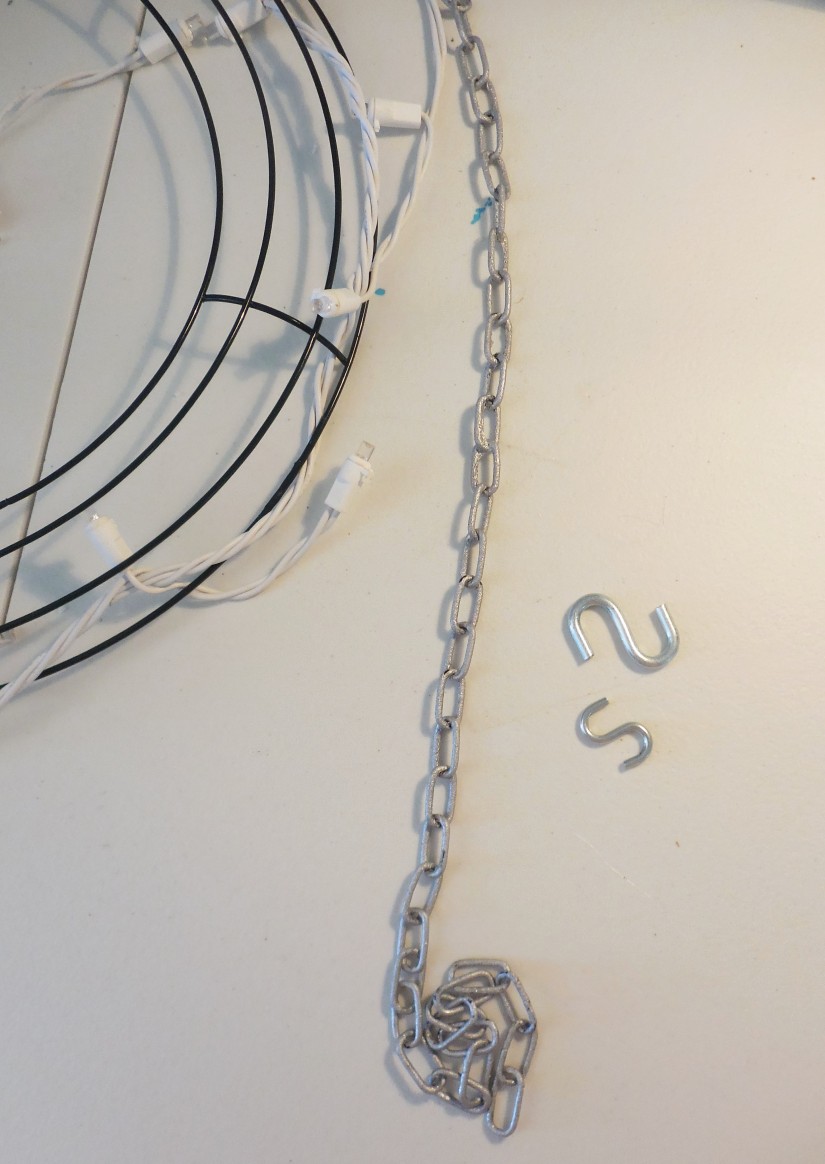
Now with the smaller 3 hooks attach your 3 strands of chain. Attach the hooks to the wreath, making sure you space the chains evenly so the chandelier is balanced. Now hang the other ends to the medium hook at top.
Then I took the green and red beaded garland and wrapped around each of the 3 chains like this:
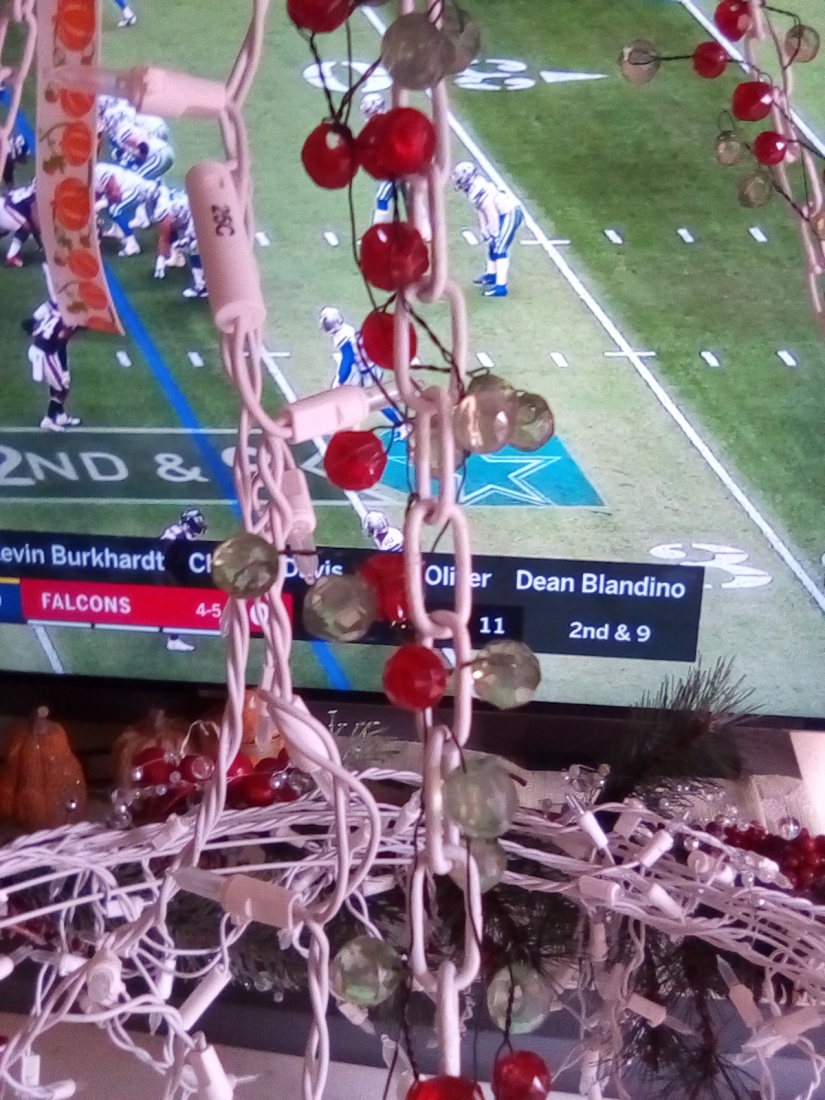
I was watching the Cowboys game!
Now take the 4th chain, you can adjust this one, and hook onto the butterfly hook you have in the ceiling.
Now when you have it hung, start adding the ornaments and the crystal beads!
See how the strands of green and red beads are going up the chains. If you notice, I put the extra length of icicle lights also to the medium hook.
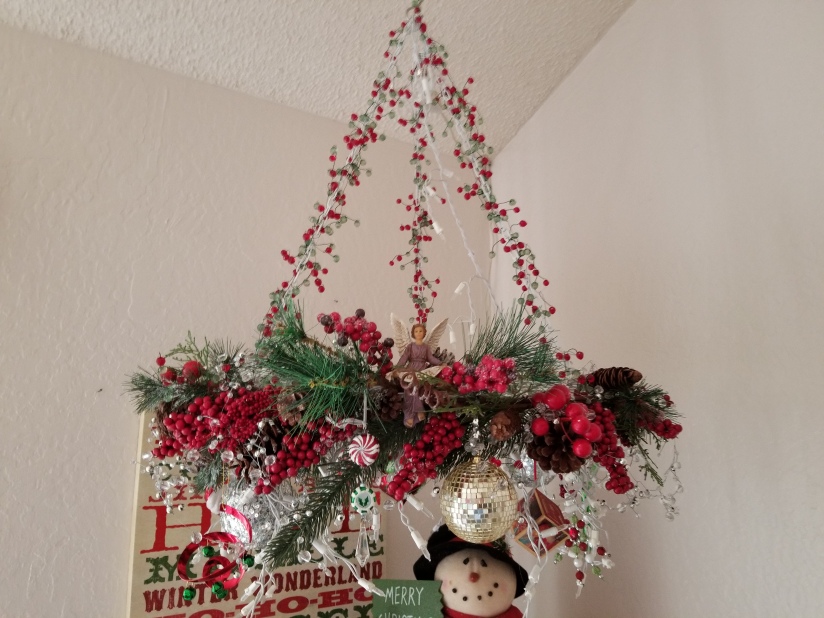
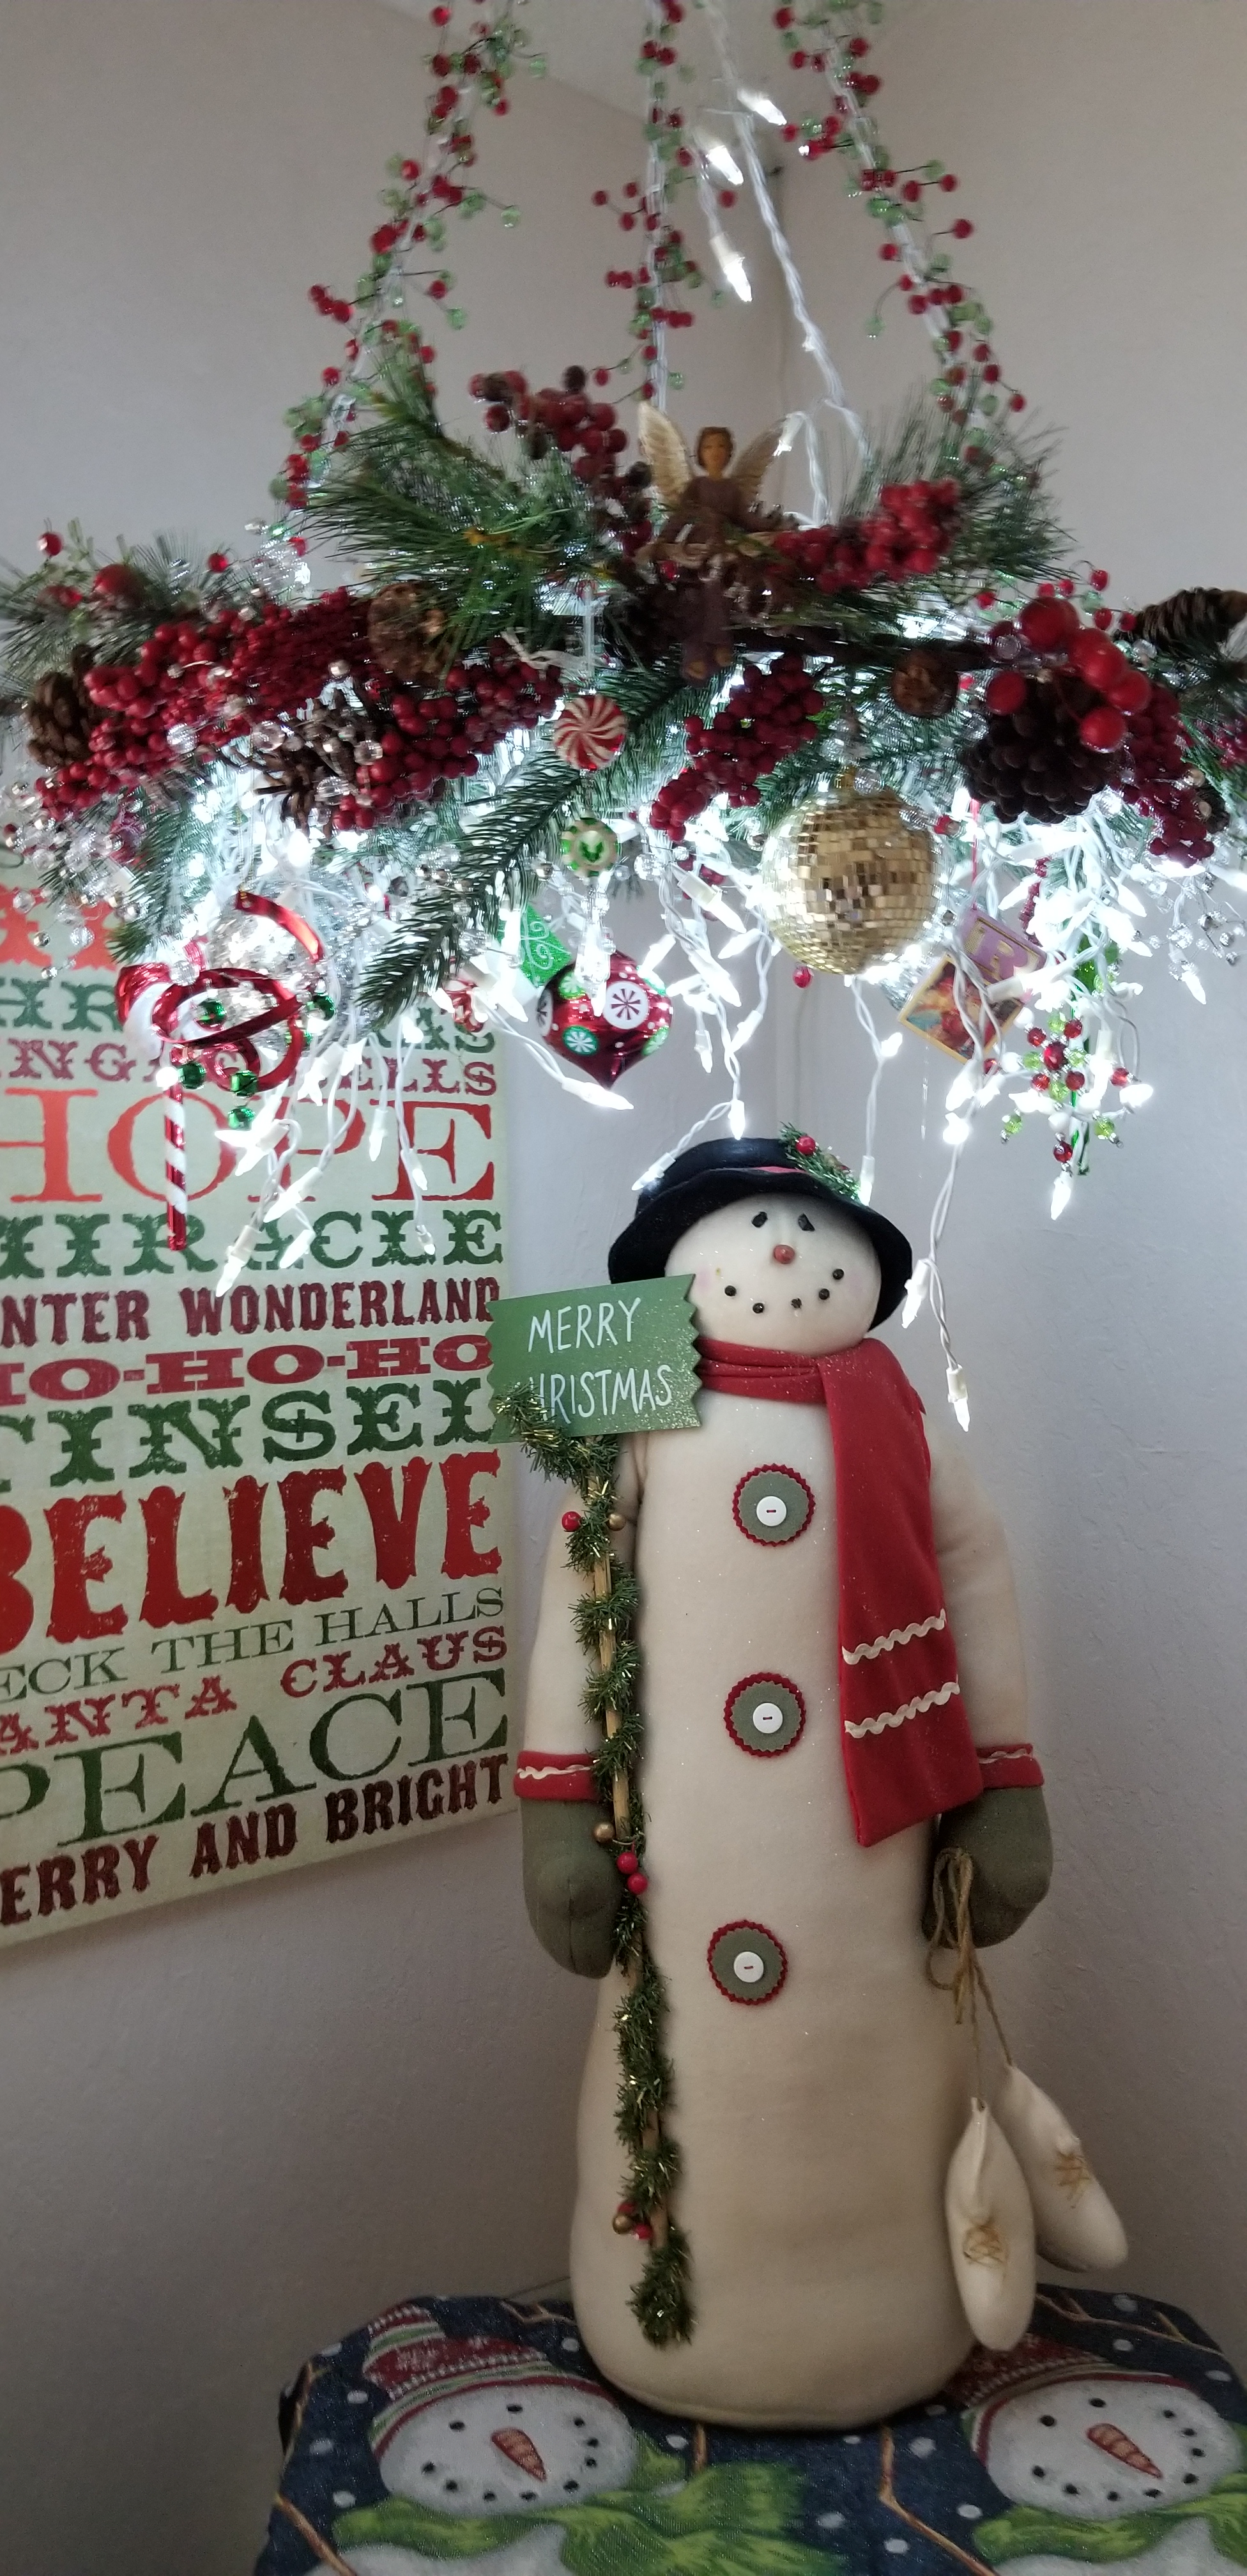
I had added my grandmothers angel to the top of the wreath. Each year I try to incorporate it in my holiday decor! I miss her so much, especially the holidays!
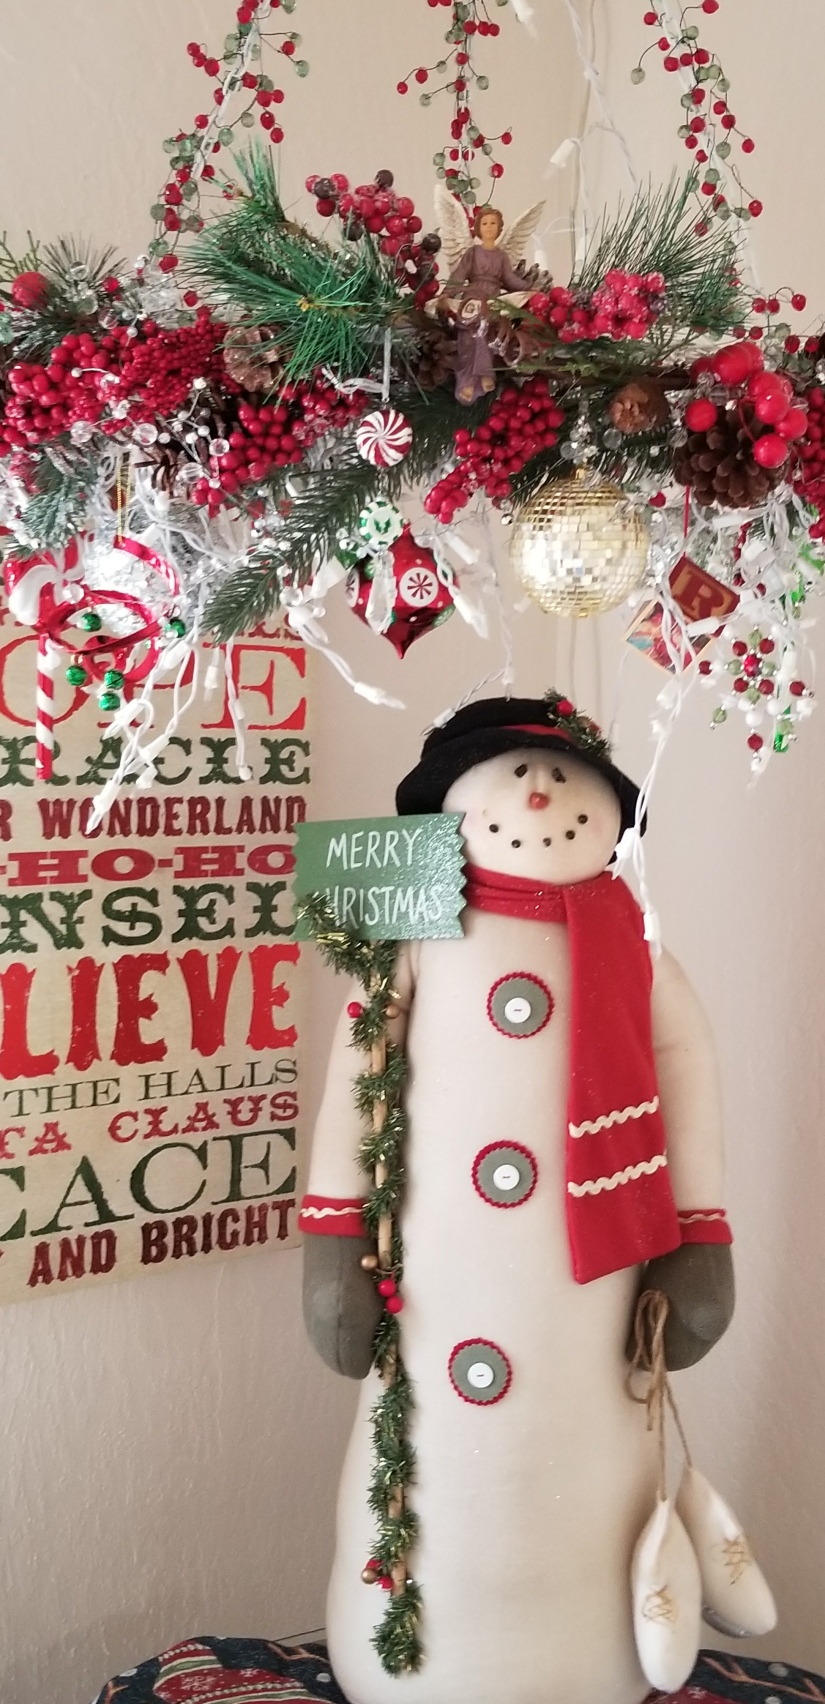
My snowman seems happy!
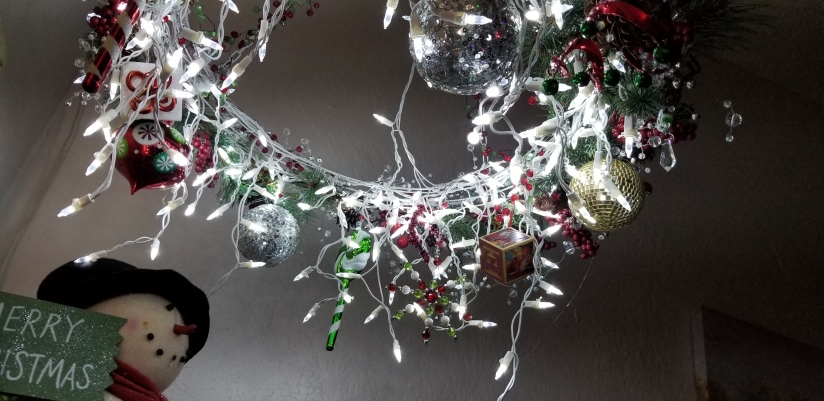
This picture is from underneath, here is another:
The chandelier lights up the whole room, I love it!
If you have any questions, just ask!
 
;


Beautiful Christmas chandelier!
LikeLike
Thank you so much Mel! I had so much fun making this. I felt a bit guilty, as I didn’t take it down at Thanksgiving. Thanksgiving is a beautiful holiday that seems to be forgotten in the stores, and that is really sad ;(
LikeLiked by 1 person
I love it! That is so beautiful and so Christmasy!
LikeLike
Oh thank you so much Robin! I am so glad you liked it! It is very easy to make. Where is your project for this week?? hahaha You know I am going to bug you till you send me another.
LikeLiked by 1 person
I’ll have to think of something. 🙂
LikeLiked by 1 person
Love it Kelly 🙂
LikeLike
Thank you Arlene. My grandmother loved this angel, her name was Arlene!!!
LikeLiked by 1 person
This is gorgeous. I love how it turned out.
LikeLike
Thank you so very much, what a wonderful compliment, thank you so much!
LikeLike
Another fabulous creation – you’re amazing!
LikeLike
Thank you so much! You are so sweet!
LikeLiked by 1 person
My pleasure, darling! And you are not only sweet, but also cute and creative!
LikeLike
Coffee and your compliments are worth waking for! Thank you so much, you always seem to know when I need a smile. Right back at you!
LikeLiked by 1 person
Everybody always needs a smile, especially cute people like yourself! 😻
LikeLike
Everyone needs you in their lives to brighten up their day!
LikeLiked by 1 person
So I should clone myself? Nah, there are so many wonderful people around – including you, darling! – that I simply recharge myself with their energy.
LikeLiked by 1 person
I doubt a clone could keep up with you darling!
LikeLiked by 1 person
You are too sweet!
LikeLiked by 1 person
Sweetness….it’s that time of the year…Happy Hanukkah honey!
LikeLiked by 1 person
But you are sweet all year round, and cute, too! Thank you, darling!
LikeLiked by 1 person
We have to meet!
LikeLiked by 1 person
Get your foot in working order, hop into your car, bundle up the doggies, and get going!
LikeLiked by 1 person
I got the cast off yesterday and am now in a boot for 3 weeks. I can at least use a walker or cane now! Still can’t drive, but I took doggies on a short walk! Loved it!
LikeLiked by 1 person
Hey, getting better all the time – glad to hear that, darling! I bet the doggies were very happy.
LikeLike
Diesels biopsy is on the way to Washington in a leer jet, that’s what the vet .
LikeLiked by 1 person
What happened to Diesel? Why biopsy?
LikeLike
Diesel has a large tumor on his chin. If you want to talk, please send me an email.
LikeLiked by 1 person
Poor doggie! Will e-mail.
LikeLike
Thank you!
LikeLiked by 1 person
Oy! Got busy and didn’t e-mail – so sorry!
LikeLiked by 1 person
No worries, me too!
LikeLiked by 1 person
I hope you have good news about Diesel! Happy remainder of holidays, darling!
LikeLike
Diesel had his surgery and is doing fine. I don’t know I could handle it if anything happened to him! Thank you honey. God was beside me.
LikeLike
It’s funny how you answer a question before I ask – great minds! I am glad to hear good news about Diesel! Hang in there, darling!
LikeLike
You are such a lovely caring person, I knew you would ask! Thank you honey!
LikeLiked by 1 person
Hey, we are connected, darling, didn’t you know that?
LikeLike
Yes, I know. I feel your love, believe me Dolly. Thank you so much for your love and support. 🙂
LikeLiked by 1 person
You are more than welcome, darling; I know you would do the same for me! That’s what friends are for…
LikeLike
You make me smile…thank you!
LikeLiked by 1 person
More than welcome, darling!
LikeLiked by 1 person
…with my morning coffee!
LikeLiked by 1 person
😻
LikeLike
xxoo
LikeLiked by 1 person
I hope you enjoyed your Thanksgiving 🦃!
LikeLike
Oh I did so much! How was yours? Lots of memories!
LikeLiked by 1 person
Awesome! I enjoyed mine to with family 💕.
LikeLiked by 1 person
Ahh, that is so beautiful Jessy!
LikeLiked by 1 person
💕
LikeLiked by 1 person
😉
LikeLiked by 1 person
Such a beautiful craft. Have you put up your December giveaway yet? If so. What’s the link?
LikeLiked by 1 person
Put it up today Crystal…Good luck!
LikeLike
Reblogged this on Haphazard Homemaker and commented:
There’s still time to make this cute Holiday Chandelier shared by one of my favorite DIY Bloggers. She includes lots of pictures and easy directions Be sure to poke around her site for lots of easy DIY craft ideas and projects for both every day use and every occasion.
LikeLiked by 1 person
Thank you honey for posting this!
LikeLiked by 1 person
My pleasure! I don’t know if I have enough stuff to make it this year, but I’ll be stocking up on Christmas clearance stuff to make it for next year. 🙂
LikeLike
That;s how I roll! hahaha
LikeLiked by 1 person
I love this idea, I am not very crafty, but I do love Christmas ideas.
LikeLiked by 1 person
This one is really easy!❤️️☺️❤️️
LikeLike